Friday, May 30, 2014

Banana Bran Muffins

I was a weird kid.  I loved bran flakes.  It was my favorite cereal.  While my brother was scarfing down Cheerios and Lucky Charms, I was getting my fiber and loving it.  Like I said, weird.  Anyway, I still love bran flakes.  I think they have a natural sweetness and you can't deny they are super good for you.  I always keep a box in the pantry.

The other day I noticed a couple of bananas on the counter that were dangerously over ripe.  I was going to make some banana nut bread, like I always do but then I remembered reading about using bran flakes to make muffins.  Inspiration struck!  Banana bran muffins!  I experimented with a recipe and it paid off.  This one's a winner.  Low fat, low sugar, high fiber and it tastes good, too!

Here's what I did:

BANANA BRAN MUFFINS

1 1/2 cups flour
1 TBS baking powder
1/2 tsp salt
1/3 cup sugar
2 1/2 cups bran flakes
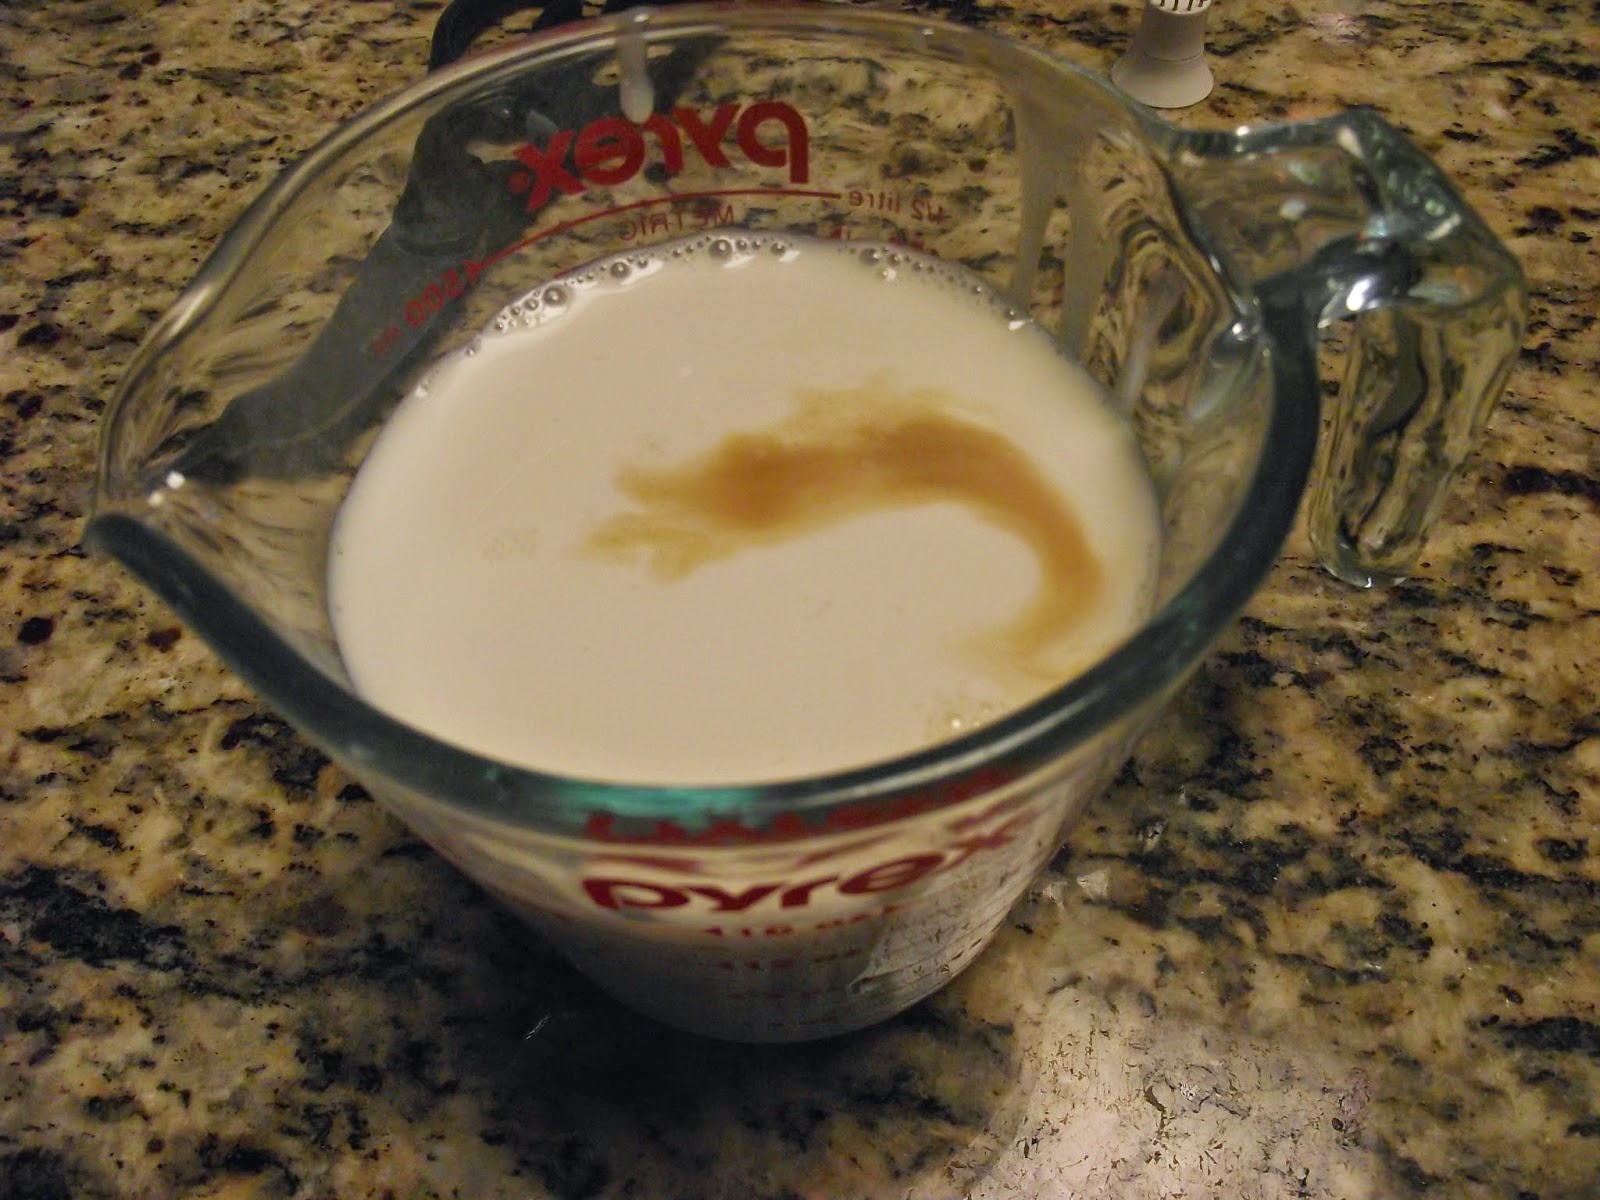
1 1/4 cup milk
1 egg
1/3 cup oil
1 tsp cinnamon
1 tsp vanilla extract
3/4 cup mashed ripe bananas (about 2 bananas)
1/4 cup unsweetened applesauce
The zest of half an orange

Preheat oven to 400 degrees.  Line a muffin tin with cupcake liners.  In a large bowl, stir together the bran flakes and milk.  Set aside to let soften. In another bowl, stir together the flour, baking powder, salt and sugar.  Set aside. Once the bran flakes are soft, mix in the egg and oil.  Beat well.  Add the flour mixture to the bran mixture and stir only enough to combine.  Do not over mix!  (That makes for tough muffins.  Is it me or does Tough Muffins sound like a show on the Disney Channel?)  Gently stir in the cinnamon, vanilla extract, mashed bananas, applesauce and orange zest.  Evenly portion the batter into 12 muffin cups (lined with liners).


Bake for 20-25 minutes.


The orange zest really take these muffins to the next level.  Don't skip it!  The applesauce and bananas keep them moist without having to add too much oil and add a wonderful flavor.  These are great for a quick breakfast on the go or a healthy snack.  Enjoy!

Monday, May 26, 2014

Tres Leches Cake

My son needed to bring a traditional Latin American food to Spanish class.  My first thought was Tres Leches Cake!  It means three milks.  In this case, evaporated milk, sweetened condensed milk and whole milk.  When he okayed this with his teacher she said, "That is really an acquired taste.  But if you want to bring it you can."  I took that as a challenge!  Everyone was gonna love my version!  (or that's what I played out in my mind, anyway)  Well, when I picked him up from school that day, he came out with the spatula in his hand.  When I asked how it went he said that was all that was left, the spatula.  Everyone loved it and they ate every bit of it.  Then the teacher said, "I guess I should have tried a piece."  I guess she should have!

Here's how I did it:


TRES LECHES CAKE

1 box yellow cake mix
1 (12 oz) can evaporated milk
1 (14 oz) can sweetened condensed milk
1/3 cup canola oil
3 large eggs
1/4 cup whole milk
1 (8 oz) tub Cool Whip, thawed
vanilla extract
cinnamon

Preheat oven to 350 degrees.  Spray a 9x13 baking dish with cooking spray.  In a large bowl (or stand mixer) mix cake mix, 1 cup evaporated milk, oil and eggs on low speed for 30 seconds, then medium speed for 2 minutes.  Pour the batter into prepared pan and bake 25-30 minutes or until golden and a toothpick inserted in the center comes out clean.  Let cool completely.


In a large measuring cup (or bowl with a spout), mix the remaining evaporated milk, sweetened condensed milk, 1/4 cup whole milk and a splash of vanilla extract.  Whisk together until smooth.


Using a skewer or chopstick, poke holes in the cake.


Pour the milk mixture slowly over the holes in the cake.


Place in the fridge for at least an hour (I like to leave it overnight) to let the cake soak up the milk.


When ready to serve place thawed Cool Whip in a large bowl.  Gently fold in a splash of vanilla and a little cinnamon.


Spread over cake.  If you are not serving right away, put it back in the fridge.  Store leftovers (if you have any -heehee) in the fridge.


I wish I had a picture of a cut piece of the cake, but like I said, they ate it all!


***Update:  My son made me this cake for Mother's Day!  So, here is a picture of a cut piece of cake.  Moist, sweet and delicious!


As you can see, this is a really easy recipe and it's great for a Summer party because you can make it ahead of time, plus it's cool and refreshing.  Enjoy!


Friday, May 16, 2014

Slow Cooker Sweet Garlic Chicken

Sorry I haven't posted in a while.  We finally got a new floor put down in the kitchen and oh wow what a mess my kitchen was!  Needless to say, I could not cook (considering my oven was unhooked and sitting in my living room).  Well, they are finally finished (yay!) and so pretty!


But, I did not realize how hard the ceramic would be on my bad ankles.  Oh man, I start to hurt as soon as I walk into the kitchen!  Then, I remembered that back when I worked in my husband's shop, he had ordered some comfort mats to help with leg fatigue.  So, I decided to find a chef mat that would match the kitchen and give me some relief.  Most are pretty pricey, but I found one by Better Homes and Garden that was just $20 so I took a shot.  It looks great and feels wonderful!  I put it near the sink when I'm working there and just move it to the stove when I'm cooking.  I highly recommend it!


What was the first thing I cooked when I regained control of my kitchen?  Well, I have been on Pinterest a lot lately and found a recipe for Sweet Garlic Chicken that looked so good I couldn't stop thinking about it.  Bonus, it's made in the slow cooker!  That left me plenty of time to get my kitchen back in order.  I didn't realize how many cookbooks I owned until I had to dust them all and reorganize them (I think I have a problem.  I see a cookbook intervention in my future).  Anyway, back to the Sweet Garlic Chicken.  Here's how I did it:

SLOW COOKER SWEET GARLIC CHICKEN

4 boneless, skinless chicken breasts
1 cup brown sugar
2/3 cup apple cider vinegar
1/4 cup Dr. Pepper (the recipe called for 7up but I had Dr. Pepper so that's what I used)
2 TBS minced garlic*
2 TBS soy sauce
1 tsp black pepper
2 TBS cornstarch
2 TBS water
red pepper flakes, optional

*Tip about minced garlic:  You can buy garlic already minced or place the peeled cloves in your food processor and zip until minced.  It takes no time at all and you can do a whole bunch and keep it in a jar with a little canola oil in the fridge.  Then you have it ready when you need it.

Spray slow cooker with non-stick cooking spray.  Place the chicken inside the slow cooker.  In a bowl (or large measuring cup) mix brown sugar, vinegar, Dr. Pepper, garlic, soy sauce and pepper.  Pour this mixture over the chicken.


Cover and cook on high for 3 hours.  Remove the chicken to a large bowl and shred (I use 2 forks).


Meanwhile, pour the sauce into a saucepan.  Heat over high heat.


In a small bowl, mix cornstarch and water well.  Pour into sauce and bring to a boil.  Let simmer until thickened.


Sprinkle in some red pepper flakes, if desired.  I like the hit of heat that cuts through the sweetness.  Mix the sauce with the shredded chicken.


I served this with pasta, but my husband thought it tasted like something you'd get in a Chinese restaurant and suggested I serve it with rice next time (Next time!  That means he liked it!).  The combination of the sweetness from the brown sugar, the heat from the pepper flakes and the tang from the vinegar (not to mention the soy sauce) does have that Chinese food feel.  So, for lunch the next day I tried it with rice.  Don't tell him I said this but he was right.  It was delicious!  It would be equally as good on bread or in a tortilla or pita.  Anyway you slice it (or shred it in this case), this chicken works.  Give it a try.

Sunday, May 4, 2014

Chicken Sauce Piquant and Cajun Snap Beans

If you are not familiar with sauce piquant (pronounced pee-cawn), it is a red gravy flavored with the trinity of Cajun cooking, onion, celery and bell pepper.  It's tomato-based, has a little spice to it and is served over rice.  It can be made with a variety of meats, including alligator or turtle.  When I was little, a lady at my church used to make alligator sauce piquant for our potluck dinners.  (It's not weird when you grow up with it)  It was amazing!  But, today I made it with chicken.  I also made my Mama's green beans, which we call "snap beans" because when the old folks grew their own beans, they would sit and snap the ends off to prepare them for cooking.  I use canned beans for convenience, but the name has stuck.  They're still snap beans to me.

Here's how I made them:

CHICKEN SAUCE PIQUANT

1 whole chicken, cut into pieces (or use 3-4 lbs of thighs or legs)
2 TBS oil
Cajun seasoning, salt, pepper & hot sauce to taste
1 onion, chopped
1 large stalk celery, chopped
1 bell pepper, chopped
2 TBS flour
1 (14.5 oz) can stewed tomatoes
1 (14.5 oz) can diced tomatoes
1 (15 oz) can tomato sauce
1 cup water
1 TBS sugar

Heat oil in a large pot.  Season chicken with Cajun seasoning.  Brown chicken well on both sides.  Do this in batches so you don't overcrowd the pot.


Once browned, remove to a plate.  Drain all but 2 TBS of the fat in the pan.  (You can remove the skin from the chicken to keep the gravy from getting too greasy).


Saute onion, celery and bell pepper in the fat for about 5 minutes.  Season with salt and pepper.


Sprinkle in flour and cook, stirring, for a few minutes.


Add stewed tomatoes, diced tomatoes, tomato sauce, water and sugar.  Season to taste with Cajun seasoning, salt, pepper and hot sauce.  Bring to a boil.


Return the chicken to the pot.  Simmer, uncovered, for 45 minutes to 1 hour or until chicken is cooked through.  Serve over rice.


This dish is so good!  The chicken is tender and full of flavor.  The gravy is savory with a hint of spice.  Perfect over rice.  Delicious!

Now, the snap beans.  My Mama made these all the time and they are my very favorite vegetable. (How can you go wrong when you add bacon?)

CAJUN SNAP BEANS

1 can cut green beans, drained
3/4 c water
2 strips bacon, chopped
1 medium potato, diced
1/4 of an onion, diced
Salt/pepper

Fry bacon pieces until crisp.  Add potatoes and onion.  Cook on medium heat about 5 minutes.  Add drained green beans and water.  Season to taste with salt and pepper.  Simmer for 20 minutes or until potatoes are tender.


This is so easy but it tastes like it cooked all day.  You can double or triple this simply if you've got a lot of mouths to feed.

So, now you know what sauce piquant is and how easy it is to make.  Try it with chicken or if you're really adventurous, and have access to it, try alligator.  It's fantastic, plus you can freak all your friends out.