Tuesday, October 27, 2015

Refrigerator Spoon Rolls

There is nothing like the smell of homemade bread in the oven!  But, really, who has the time or energy for all of that work?  Well, now we do.  This recipe is so simple anyone can do it.  And, because you make it and stick it in the refrigerator, you don't have to knead it and wait for it to rise and punch it down and let it rise again, etc.  It's just sitting in the fridge waiting for you.  I love this recipe!


REFRIGERATOR SPOON ROLLS

1 envelope yeast
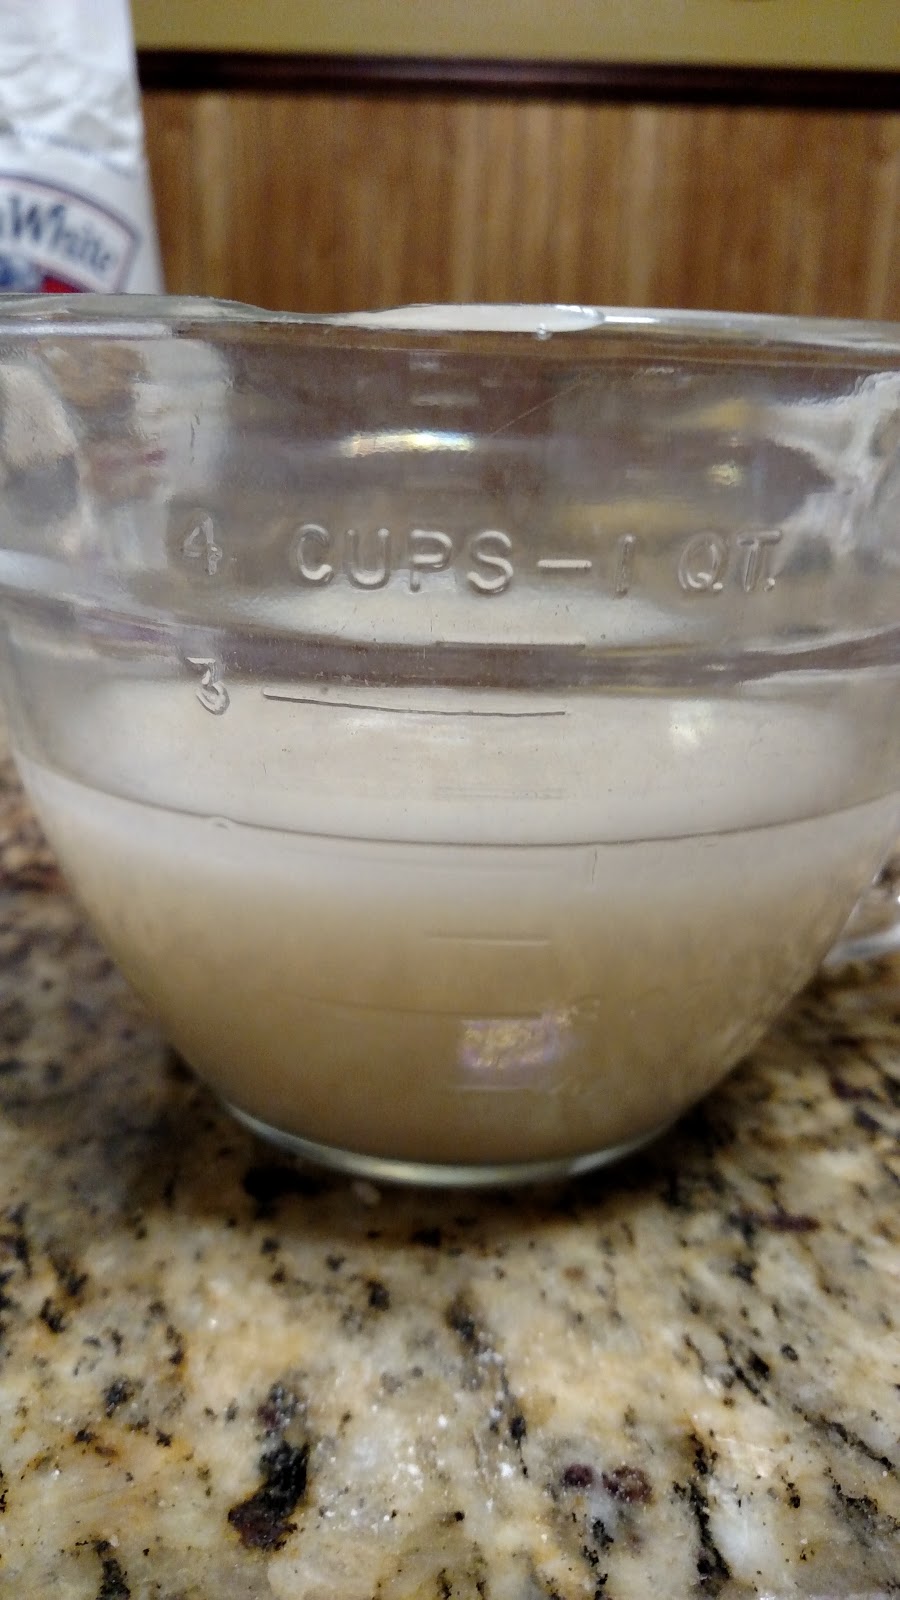
2 cups warm water (105-115 degrees)
1/2 cup butter, melted
4 cups self-rising flour
1 egg, slightly beaten
1/4 cup sugar

First, make sure your water is the right temperature.  It should be between 105 and 115 degrees.  If you don't have a thermometer, just make sure it's very warm tap water.  If it's too cold, the yeast won't activate and if it's too hot, it will kill the yeast.

Dissolve the yeast in the warm water and let it stand for 5 minutes.


Combine the yeast mixture, butter and flour in a large mixing bowl, mixing well. (I use my stand mixer but you can do it by hand).


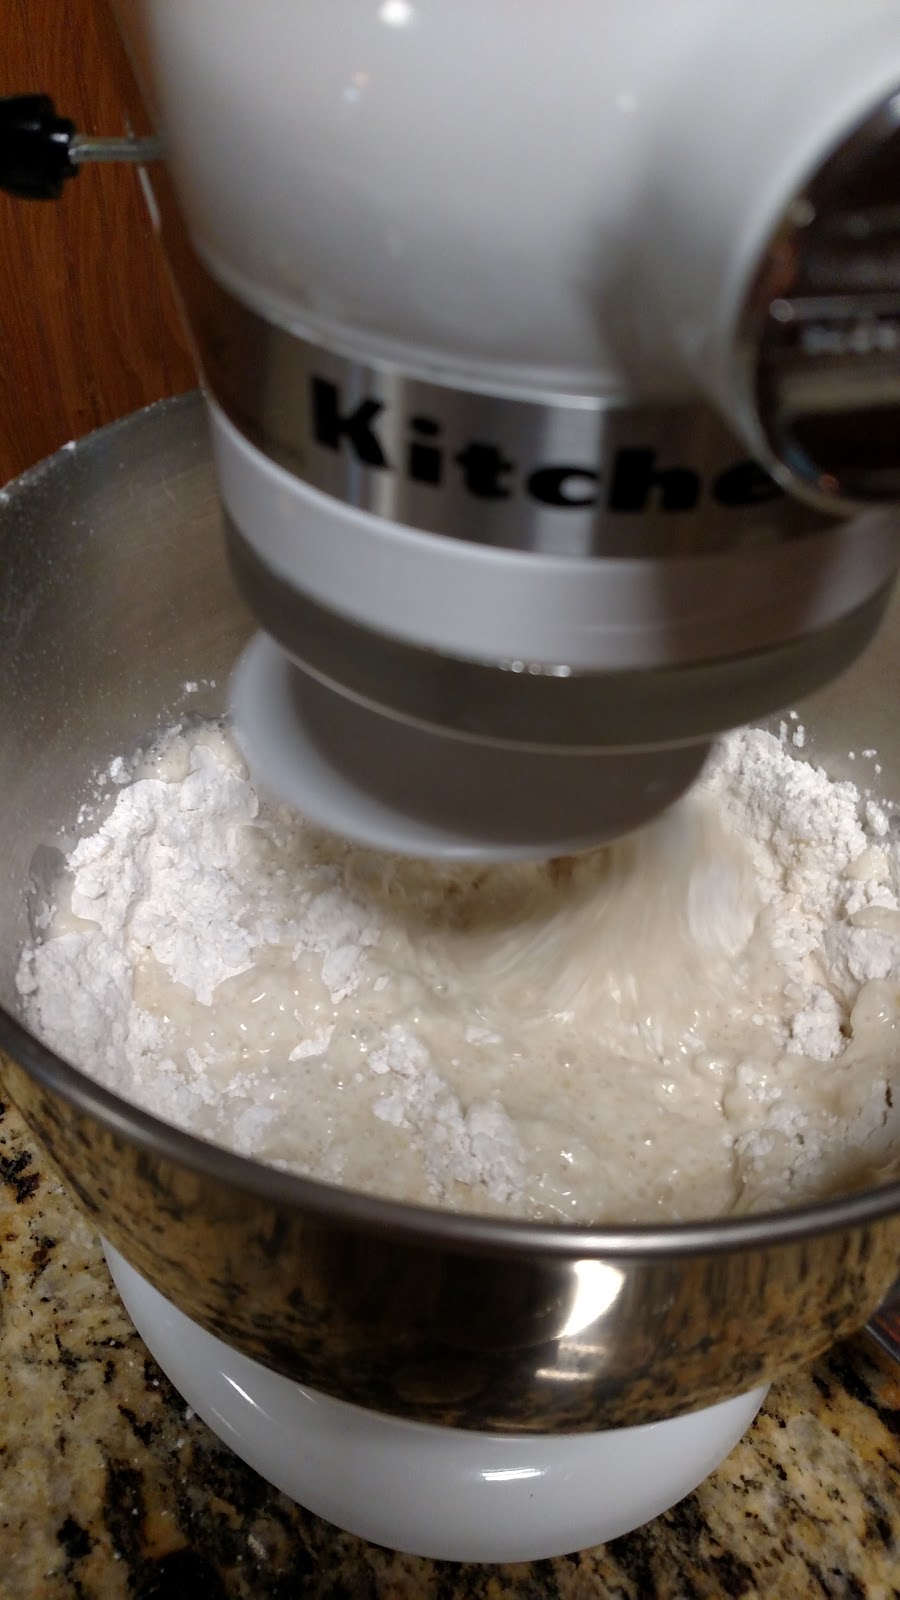
Stir in the slightly beaten egg and sugar.  Mix well.


It will be a very soft batter.


Cover and refrigerate overnight.  I put it in a measuring bowl with a lid, but you can just cover it with plastic wrap.


The next day it will have risen.  You can use it now or it will keep in the fridge for 4 days.


Preheat your oven to 350 degrees.

Generously grease a muffin pan (I use margarine spread.  It works great and gives the rolls a buttery flavor).


Spoon the batter into the greased muffin pan, filling 2/3 full (I use an ice cream scoop to do this).


Bake at 350 degrees for 25-30 minutes or until light golden brown.


These rolls are delicious!  They taste like you spent all day working in the kitchen, but, really you just had to spoon them into the pan.  So easy, but so good!  They'll make your house smell amazing!  I'll say it again, there is nothing like the smell of homemade bread in the oven.  This is a must-try recipe!

Friday, October 23, 2015

Halloween Treats

My daughter was having some friends over for a Halloween party so we made some cute Halloween treats.  These are easy to make but really adorable!  You get maximum effect with minimum work. Perfect for a party!  Here's what we made:


First, let me tell you about the Witches Hats.  They are the easiest of all!

WITCHES HATS

Fudge Striped Cookies
Hershey's Kisses
White Frosting
Food coloring


Tint some white frosting using food coloring (I chose to go orange, but green would work, too).


Spread a little frosting on the chocolate side (not the striped side) of the cookie.


Press an unwrapped Hershey's Kiss onto the frosting, letting a little squish out around the sides.  This makes it look like a decorative brim.


Chill them in the fridge for about 30 minutes to let them set up.  That's it.  Super easy, but how cute are they?!


Next, I'll tell you about the mice.  They are actually white chocolate vanilla wafer truffles.  Again, easy to make, but really cool looking.  I have to admit, I hate mice.  So scared of them.  And I'm not scared of much.  I grew up in the swamp.  Snakes don't bother me.  I've held baby alligators. I use to fish with worms and crickets.  Don't need a man to kill spiders.  But, mice give me the Heebie Jeebies!  So, these treats are perfect for Halloween.  Scary little critters that taste great!

MICE TRUFFLES

2 squares of white almond bark (or 4oz white chocolate chips), melted
1/3 cup sour cream
1 cup vanilla wafer crumbs (zip them in food processor)
1/2 cup powdered sugar
Nerds candies (for eyes)
sliced almonds (for ears)
licorice strings (for tails. I used Twizzlers Pull and Peel)

Melt the white almond bark in a microwave safe bowl.  I do this in 30 second intervals and stir in between.  Almond bark may not look like it's melted until you stir it.


Once it's melted, add in sour cream and stir to mix.


Stir in the cookie crumbs.


Cover and chill this mixture for an hour.

Roll level Tablespoonfuls into balls and mold one end to a slight point for the nose.


Roll in powdered sugar to cover completely.


Use 2 sliced almonds for ears.


Use two Nerds candies for eyes and a piece if licorice string for the tail.


Pretty creepy, huh?  Well, they creep me out.  But, I have to admit, they taste delicious!

So, there are a couple of fun Halloween Treats that are easy to make and look great!  Happy Halloween!

Wednesday, October 14, 2015

Banana Pudding Parfaits

My Mama, aka Maw Maw, makes the best banana pudding ever.  The best.  Seriously.  If she didn't make it for a family function, there might be a riot.  There would definitely be sad grandchildren,  So, of course, she always makes it.  Even though it's time-consuming.  Whatever it takes to keep those grand babies happy, right?

Well, I came up with a simpler, quicker way to get the same great flavor as Maw Maw's banana pudding without all the work.  Parfaits!


BANANA PUDDING PARFAITS

1 (3.5 oz) box instant vanilla pudding mix
1 cup sour cream
1 cup milk
vanilla wafers
whipped cream (I used a can of Reddi-Whip)
A few bananas, sliced

In a big bowl, whisk together the sour cream and milk until smooth.


Add the pudding mix and whisk until thickened.


In clear glasses (I use juice glasses), layer the ingredients in the following order:  A few vanilla wafers, a few slices of banana, a little of the pudding mixture, some whipped cream.  Then repeat the layers.


Garnish the top with a vanilla wafer (or vanilla wafer crumbs).


See how quick and easy these are to make?  

The sour cream makes the pudding extra rich and decadent.  It elevates a simple pudding into something special.  They're pretty, too!  Perfect for entertaining!  Parfait does mean "Perfect" in French after all.  I think Maw Maw would approve.